Well recently I’ve taken some down time from shooting photographs to actually look at the best way to process some older images. Landscape photographers have always been confronted by a few common problems. The most obvious is the problem of capturing detail throughout the image. It’s the reason megapixels keep increasing and lenses keep getting more expensive. Unfortunately, not everyone can afford to drop a small fortune on a camera, but this doesn’t mean you can’t make stunning detailed images.
This is where Hugin comes in. I stumbled upon this awkwardly named (did I mention free) program while searching through a variety of open source photography software. It is a very cool and very capable photo stitcher that did an excellent job merging the test images I tried. The idea behind photo or image stitching is a simple one. Basically, a bunch of photographs with overlapping views are taken and merged together to form a single more detailed image. Image stitching programs can accomplish this because they look at the matching features (from the overlapped sections) to determine how the separate images should be pieced together and how best to blend the different images to get a convincing end result.
Photo stitching isn’t perfect, but it does yield some amazingly detailed images without having to own a medium format camera.
Here are a few tips for better panoramas:
- Shoot in manual and keep the exposure fixed, this will prevent the camera’s meter from being tricked and will make for a more natural blending.
- Keep the camera level as you rotate it through the scene, try to use a bubble level or specially designed ball head for best results.
- I usually try to overlap at least a 1/3 of the frame from one image to the next.
- Remove any polarizing filters, these filters are influenced by the sun’s direction and will create weird looking skies as you rotate the camera.
- Use a shutter release to prevent camera shake.
- Shoot around the nodal point of your lens (if you can) to prevent parallax errors.
- Frame to shoot a little extra around the borders of the image in case you need to crop things later.
- Use a sturdy tripod and visualize the final image before you begin shooting.
You don’t need to follow all these tips, but it will help get a better looking merged image.
Once you have your images, fire up Hugin and get stitching by placing your own control points (similar features between overlapping images) and then optimizing your output. To be honest it actually took me a while to figure out why I could get anything to work in Hugin. Part of the problem is that Hugin doesn’t come with its own automatic control point generator and if you don’t want the tedious task of matching points by hand, you need to download another (free) program like panomatic or autopano-sift-c and tell Hugin where to find it.

Once I figured this out, everything went smoothly and I was amazed at how natural the results looked. No matter how hard I looked I could find the tell-tale seams of a merged image. Hugin also incorporates and number of other benefits like creating HDR images and offering a variety of different blending options. Here is a quick example of a stitched image made from only three frames of a Canon 5D. Even here the extra detail is evident.

Here is a crop from the same image.

You can only imagine if this had been a twenty image stitch instead.
This brings me to the other, equally daunting, problem of capturing details in the shadows and highlights of contrasty outdoor scenes. Modern camera sensors are very good but they still can’t equal the human eye when it comes to dynamic range. I talked about this earlier, and basically I was unimpressed with the different tone-mapping software that I tried. I felt that it was too easy to get strange halos, artifacts, and unnatural looking images. Especially true in scenes where there was slight movement, which makes shooting HDR water images a pain. I also wrote about a process in photoshop of merging differently exposed layers into a more natural looking image. It looked nice but the process was messy and tedious.
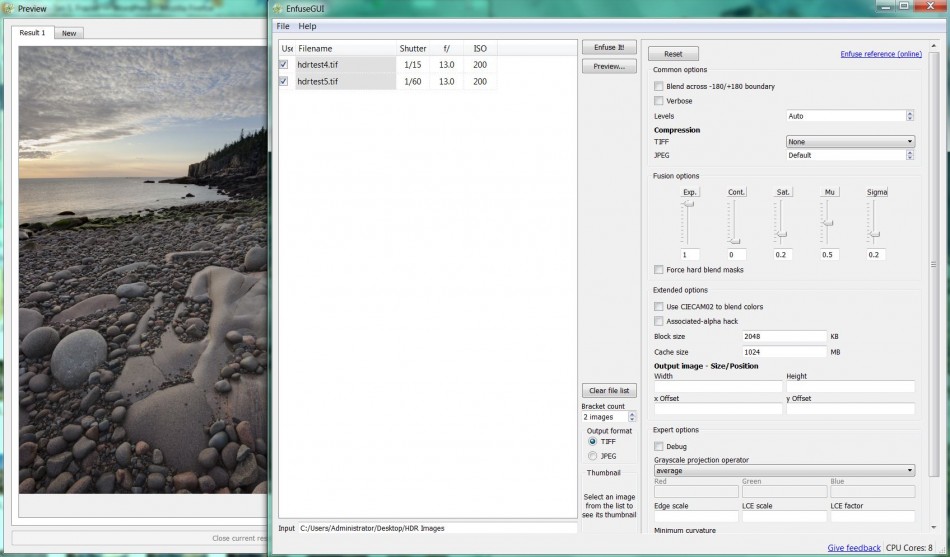
After a little searching, I found my new favorite method of conquering contrast in a program known as Enfuse. Enfuse is a command-line program that tries to merge different exposures of the same scene to create an image that looks similar to a tone-mapped one but without the halos or the need to create an intermediate HDR image. This “exposure fusion” seems to give me a much more natural look and works by placing emphasis on merging the properly exposed parts of each exposure.
Since I use a PC and don’t have Lightroom (there is an enfuse plugin for it), the best option out there is a program called EnfuseGUI. This small open source program creates a much needed graphical interface for the enfuse program, and works amazingly well. Choosing the right parameters can be something of a challenge, but the handy preview button gives a good idea of what to expect.

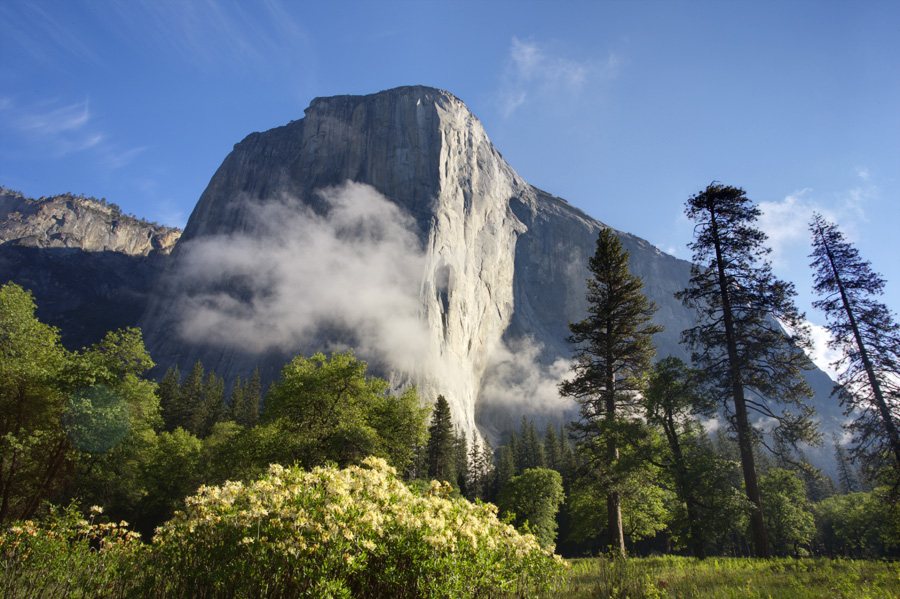
I find that the Enfused images look more contrasty and natural than a tone-mapped one, with only sometimes the highlights being slightly overexposed. If I have a difficult scene I’ll use the different exposures as layers with masks in Photoshop to tweak the base Enfused image slightly. It’s a nice solution for controlling contrast. Here are a few examples all made with EnfuseGUI.


As you can see, if you have the time and like experimenting, Hugin and Enfuse are definitely worth looking into.