Preface:
This is the first in a series of mini-articles on topics that interest me and may help others discover some of the ins and outs of nature photography. I’d like to think that I know a good deal about photography, but fishing taught me at an early age the benefits of keeping an open mind. Too often a finicky brown trout has turned down a “perfectly” tied fly delivered with a “perfect” cast for me to get too excited about thinking I had things figured out. Photography is the same way and if anyone would like to share a better or different take on something I say feel free to let me know (the same goes for secret fishing spots in San Diego).
Shooting in Tough Conditions:
In a perfect world all outdoor photography would take place during amazing sunsets with glowing light and dramatic skies. Unfortunately, most people (myself included) are forced to take photographs when their schedule allows. This means that there are three weather conditions which will make photography amazingly frustrating, and are almost impossible to avoid.
Sunny Conditions:
Sunny days may seem like ideal times to shoot. The sky is blue, the sun is shining, and animals often become more active in warmer weather. The problem with shooting on bright clear days lies with the sun’s harshness and intensity. Our eyes can see an amazing range of luminance in a scene, in fact our dynamic range is much higher than any sensors and it is this difference that can lead to problems.
Today’s modern sensors are amazing. Their color reproduction, ease of use, and dynamic range all blow away the slide film I used before; however even the best sensors will have trouble in bright conditions when there are contrasty scenes. To avoid problems I’ve learned to look for certain compositions that work well on sunny days.
Do Shoot:
- Look up– this is a simple one but often great images can be made by looking up through a tree canopy. Noon light will filter through the leaves and really make them pop, you can also use the tree limbs to hide a direct view of the sun.
- Backlighting and Silhouettes– If you can’t beat the dark shadows and blown highlights try to use them to make interesting silhouettes. Also backlighting (experiment with the angle of the sun behind the object) can lead to a nice separation of the subject and background. Often a little fill flash will open too dark shadows.
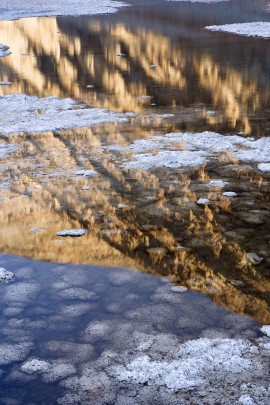
- Water– Don’t be afraid to shoot water on sunny days, especially if you can get the angle right for some nice reflections. Here a circular polarizer is a must for controlling just how much reflection you want. Bright reflections in shadowed areas can give really nice results.
- Flowers with Diffusers– I always carry a small folding 5-in-1 reflector/diffuser. Flowers can make for great photos but direct sun is often too harsh to highlight the delicate parts of the plant. Instead use a diffuser to get a nice even soft light that will compliment the subject. A folding one takes up little room and can also block the wind if you need it to.
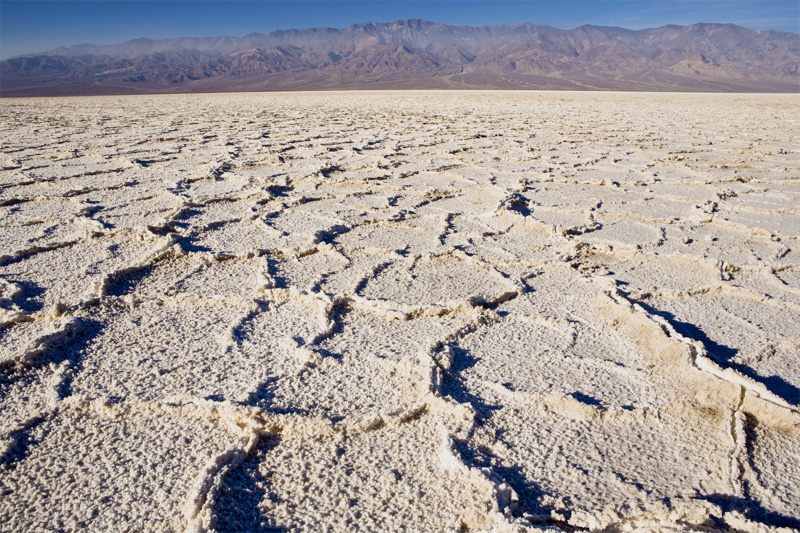
- Open Spaces– If you’ve ever looked at a postcard rack you’ll notice that most of the photographs were taken on bright sunny days. It’s because sunny photos imply happy moments, and people are drawn to them. Open landscapes can make good mid-day subjects since dark shadows and harsh highlights are minimized in the photo and not as distracting. The wider the better.
- Sky Shots– Bright blue skies and clouds can often make interesting “cloudscapes” and shouldn’t be ignored.
- HDR– High Dynamic Range shots I think are often over done, but by shooting separate images for the shadows and highlights you can get images that would be impossible otherwise. Just make sure that the end result looks natural.
Don’t Shoot:
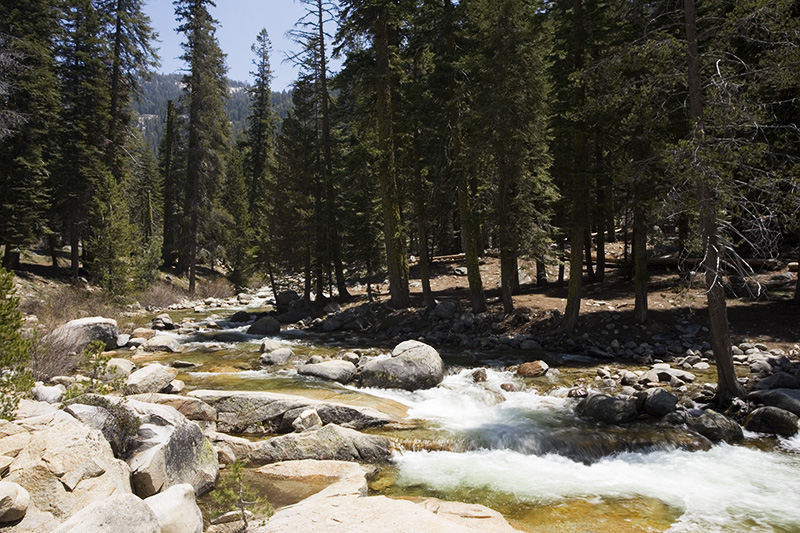
- Streams and Forests– I know this sounds crazy, but on bright sunny days shooting streams and forests creates an exposure nightmare. The understory will be black and often any foaming water will be blown out. Better to wait for some clouds or softer light.
- People– Shooting people in strong light will lead to deep shadows, especially under the eyes. It’s better to shoot in a more directional morning or late afternoon light.
- Flowers/Delicate Subjects– Again the light will be too harsh. Delicate details on flowers will be lost and colors that wont look as nice with the glare.
Windy Conditions:
Wind, as I realized from a recent trip to Maine, can be a major pain in the butt when taking photographs. I love shooting during the periods of low light, either right before sunset or at sunrise, and this means using a tripod and exposing from half a second to several minutes. This also means that any vibrations, such as wind beating against the camera, will cause severe image degradation. Luckily there are some things that can be shot without too much hair pulling.
Do Shoot:
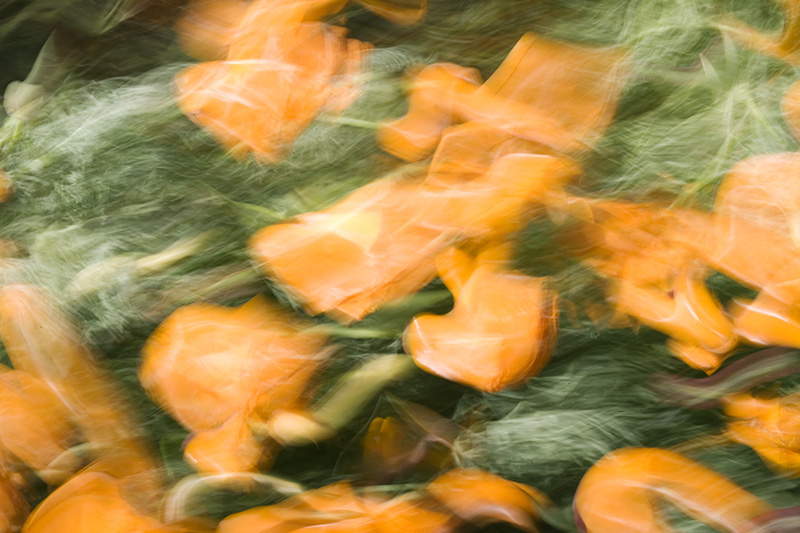
- Abstract Wind– Wind can be one of the hardest things to convey in a still photograph. This also means that if done right you can get some really unique images. When things are really blowing, like on this trip to a poppy field in California, I look for compositions and colors that would make a good abstraction. Try shooting from 1/4 sec or longer and check the LCD until you get a nice image.
- Distant Landscapes– Landscapes in good light can be photographed easily as long as most of the moving things in the image are kept relatively small, and shutter speeds don’t dip too low.
- Structures– Buildings, bridges, monuments etc.. aren’t going anywhere even when it get really windy.
- Sheltered Areas– One of the best things to do when it gets really windy is to look for sheltered areas around where you want to shoot. Sometimes this can be a nook in a rock wall or the leeward side of your car, anything to break the direct flow of the wind. Often getting low to the ground can help or using your body as a shield during long exposures.
- Flying Birds– Make sure your shutter speed is high enough and look for birds taking off or flying (usually take off against the wind).
- Multiple Exposures– Sometimes when all else fails I’ll hand-hold the camera, brace myself, and shoot in bursts. Usually in a burst of 5 shots there will be one or two that are sharp and not effected by wind or vibrations.
- Lulls– Wind has a tendency to blow in gusts, sometimes ripping your hat off and sometimes a light breeze. Try to anticipate when the wind will ease and shoot like crazy during the calm moments.
Don’t Shoot:
- Things that Move– By this I mean things that can move but which you want still. A bird resting on a branch may make a great photo as long as it’s not bobbing up and down in a gust of wind. Macros of insects and plants can be especially difficult where a half an inch makes a huge difference.
- Delicate Things– Objects with fine detail or which are small, will be extremely susceptible to wind movement. Shooting a spider web or flower could drive anyone insane.
- Long Exposure Landscapes– This is probably the hardest one for me, especially since I like to shoot at small apertures and in low light. Here any vibration will ruin an image and rob it of needed sharpness. Boosting the ISO, using a sturdy carbon fiber tripod, and shooting at a faster shutter speed can sometimes help.
Rainy Conditions:
Somehow rain always seems to follow me when I’m out camping or on vacation. It also has a habit of ruining gear (buy a raincover) and making shots difficult to get. Skies look dull and standing in damp socks can be miserable. However, gloomy days open up a whole range of new photographic opportunities if you can stay dry and find the right subjects.
Do Shoot:
- Forests- On sunny days shooting a forest can be impossible. The bright sky and dark shadows make for images that don’t translate well in the camera. On rainy or overcast days the contrast range is much lower and the sky acts like a giant softbox. Details in the leaves and bark are much easier to record, but use a polarizer to cut the glare on the leaves.
- Things Without Sky- The one main problem (besides wet underwear) with rainy and overcast days is the bland and featureless sky. To get around this look for different subjects or compositions that minimize the sky in the image.
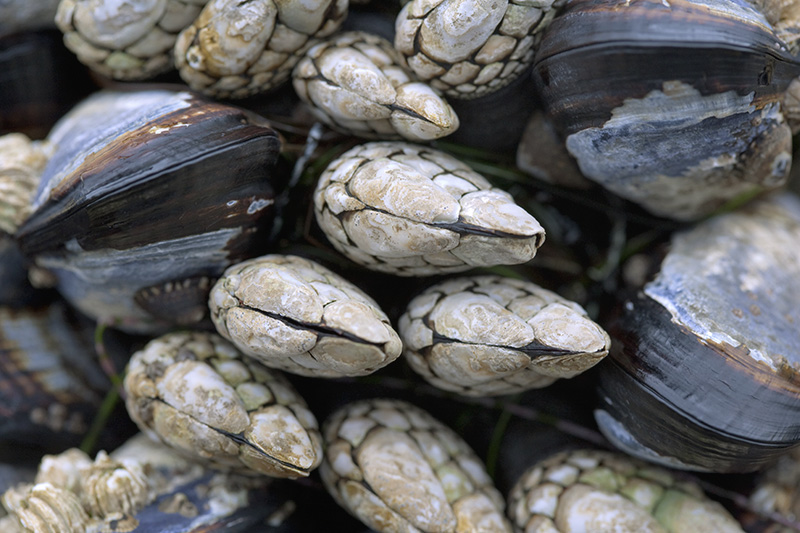
- Macro– The sky’s softbox effect means shooting smaller subjects and their delicate details is much easier to do. Look for dew drops, flowers, forest details, or in this case a group of barnacles and mussels who’s contrast range would have been to high on a sunny day.
- Streams- This is probably the number one thing that I like to photograph when it’s rainy outside. Usually the moving water and dark rocks of most streams makes shooting them during a sunny day impossible, the scene ends up looking too harsh. Instead use the soft light of an overcast day to shoot your favorite stream and get the slower shutter speeds you want. Try to keep any distracting sky out of the image.

- Clearing Storms– If it’s raining it means eventually it has to stop. Clearing clouds can be some of the most dramatic so look for breaks in the weather and set yourself up for some nice landscape shots.
Don’t Shoot:
- Sky- I’ve already mentioned how ugly the sky can look on dreary days, but again if possible avoid shooting the sky. Part of the problem is that the sky is often featureless or ends up a nasty overexposed white. In either case it isn’t very interesting.
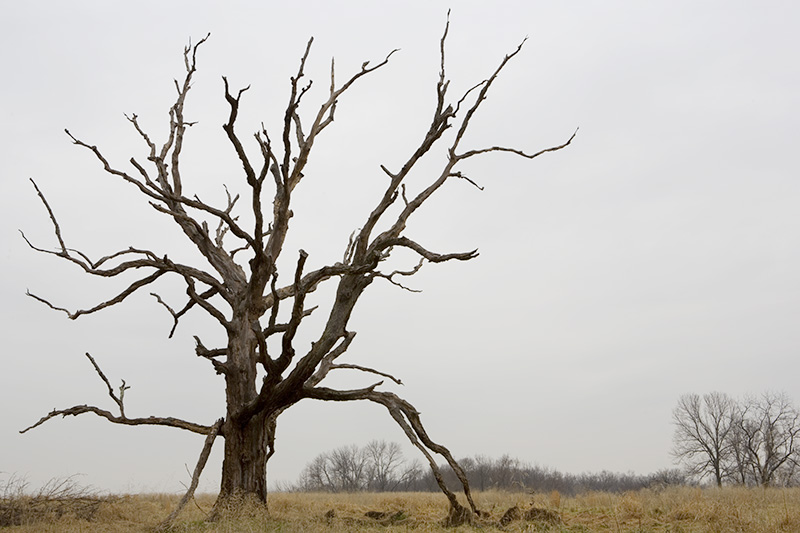
- Wildlife– Shooting animals during a rainy day can often be miserable, and getting a fast enough shutter speed in subdued light is often a challenge.
- Sunsets/Sunrises– This seems obvious but rainy days means no sun, no sun means no exciting sunrises or sunset. If it’s that overcast gloom that seems to stick around for days, skip sunset and dry off at home instead.
- Postcard Shots– You’re probably not going to get any great sweeping landscape shots with a nice sun and happy clouds (like in a postcard). Instead focus on details and how the place makes you feel, often these images will be more interesting.
Conclusion:
Hopefully if you’ve read this it will take some of the guess work out of shooting in tough conditions. This is meant as a general guide, but as with many things there are always exceptions. In fact breaking the rules is part of learning, and often yields amazing photographs. It’s a matter of getting out and shooting.
Ian